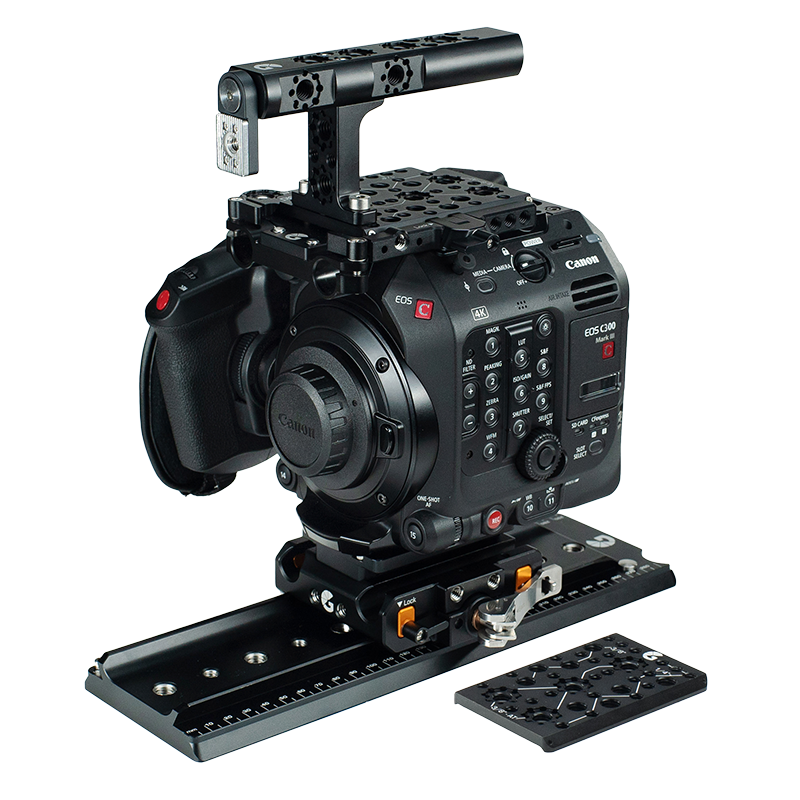
LeftField 3 Canon C400 – Advanced Kit
Original price was: $1,699.$1,359.20Current price is: $1,359.20.
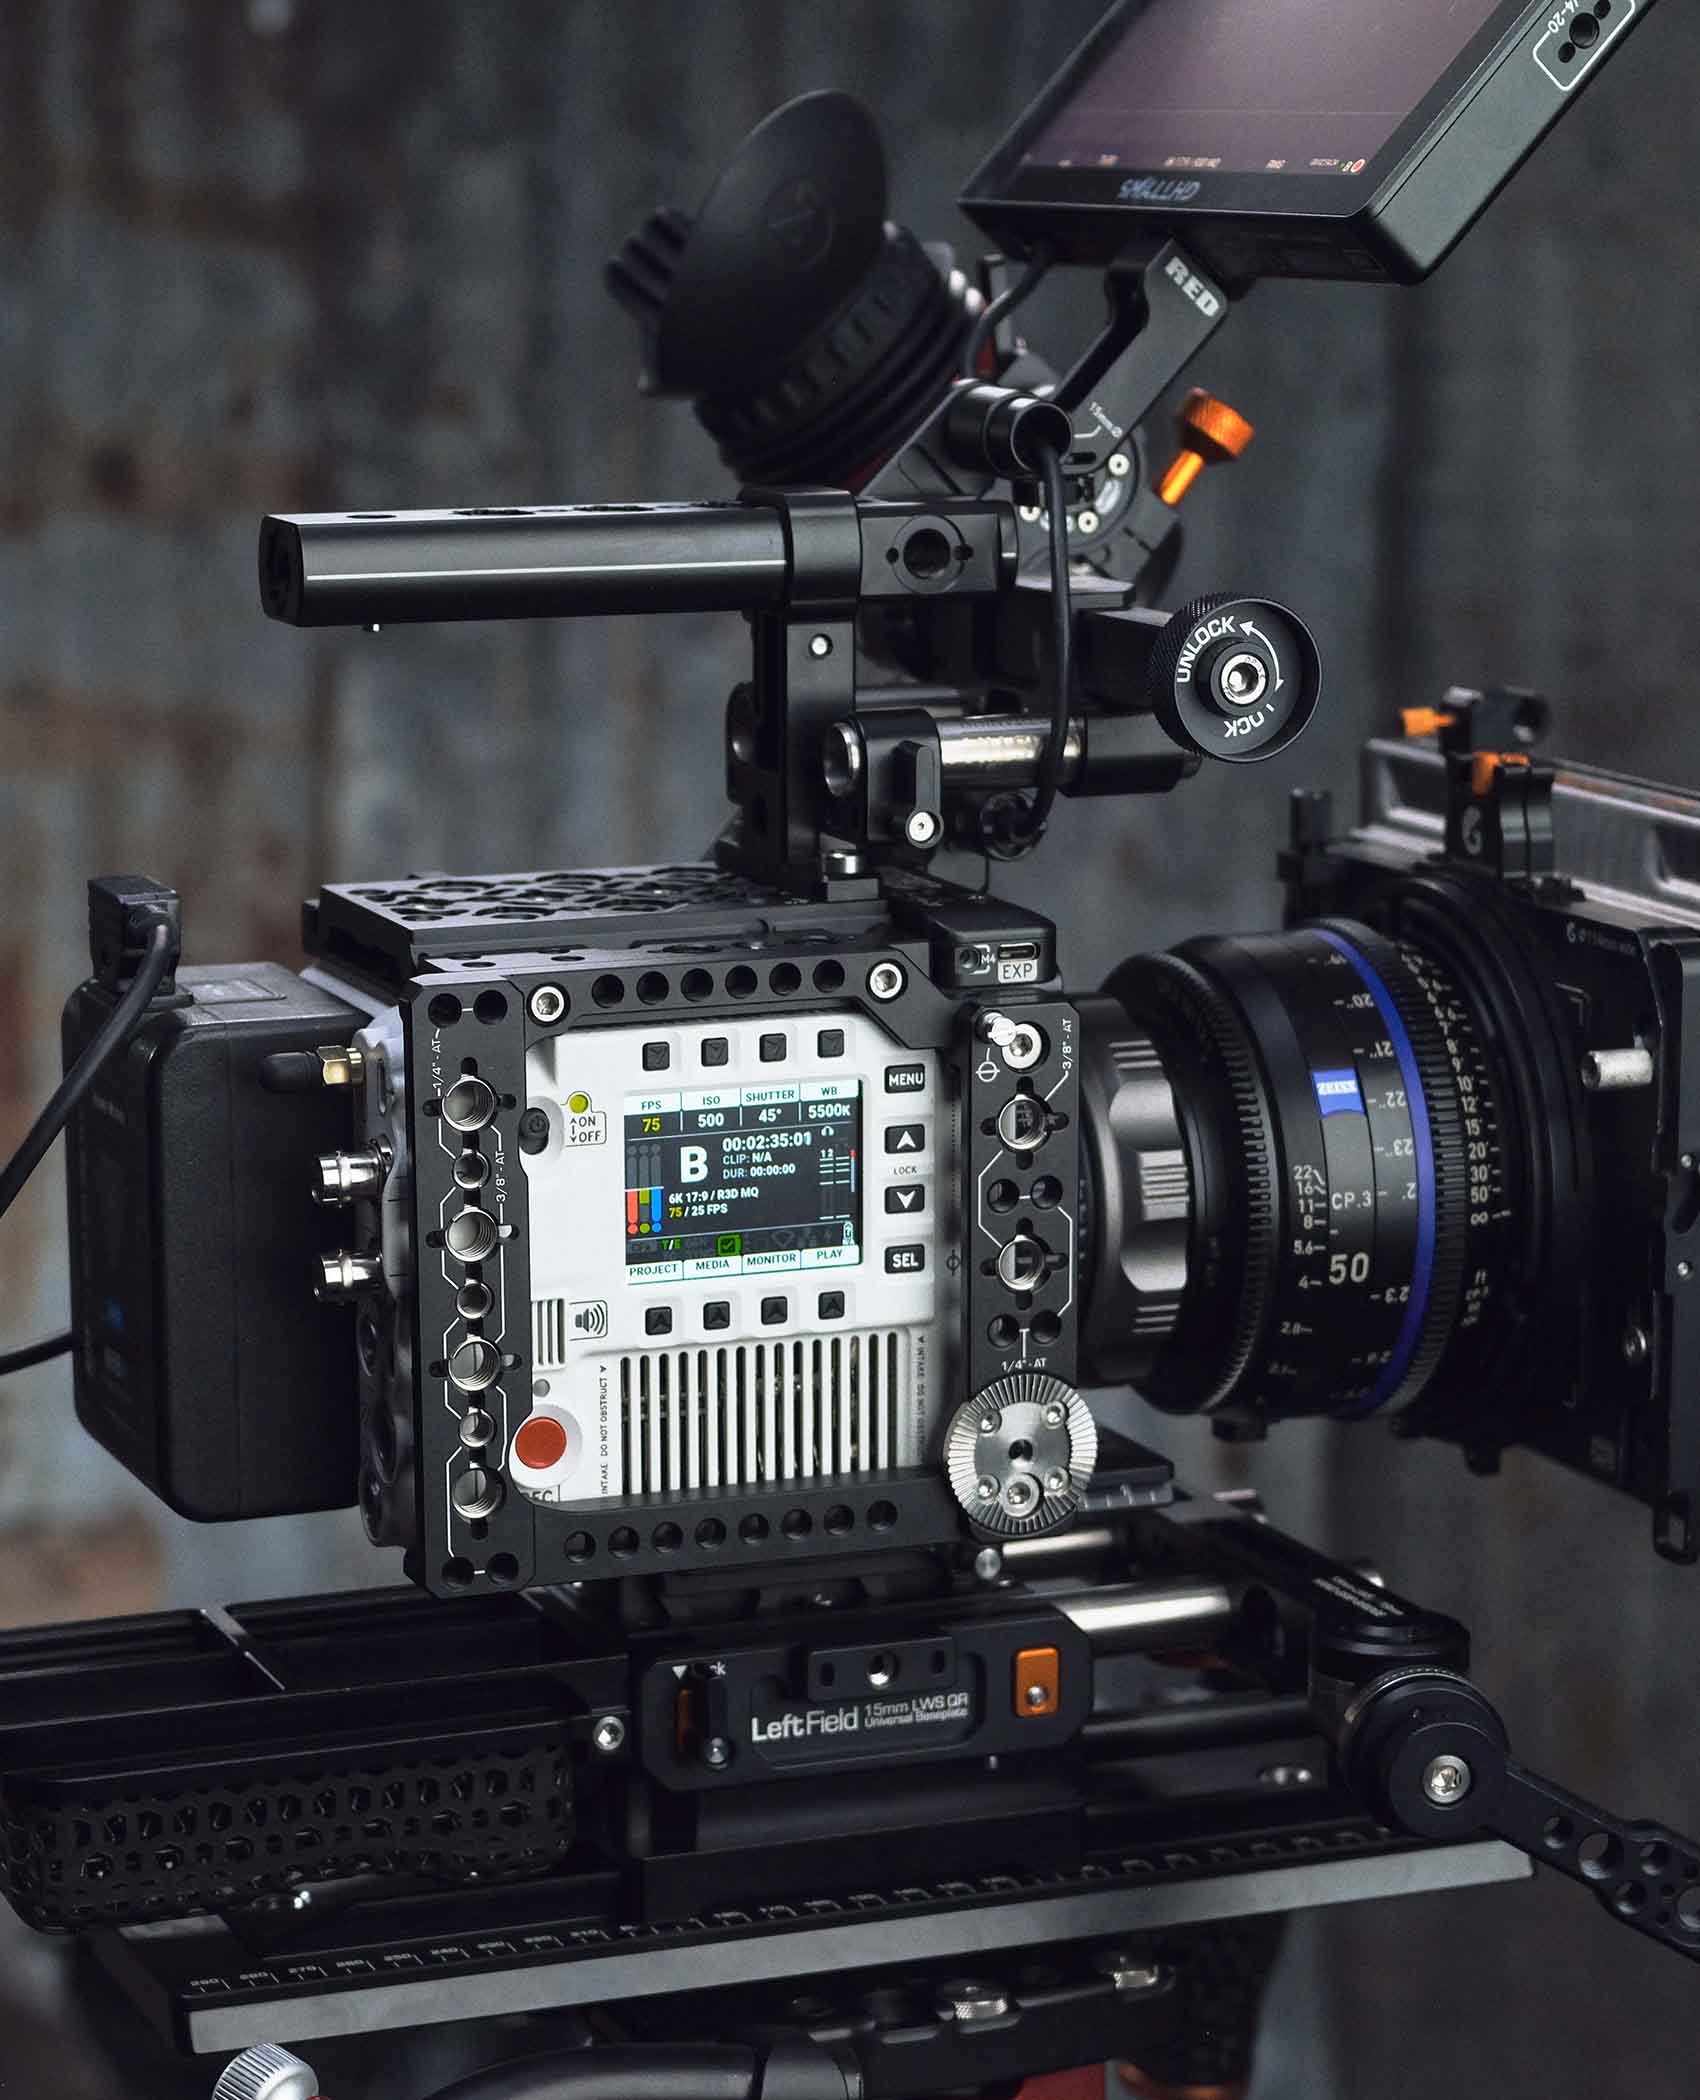
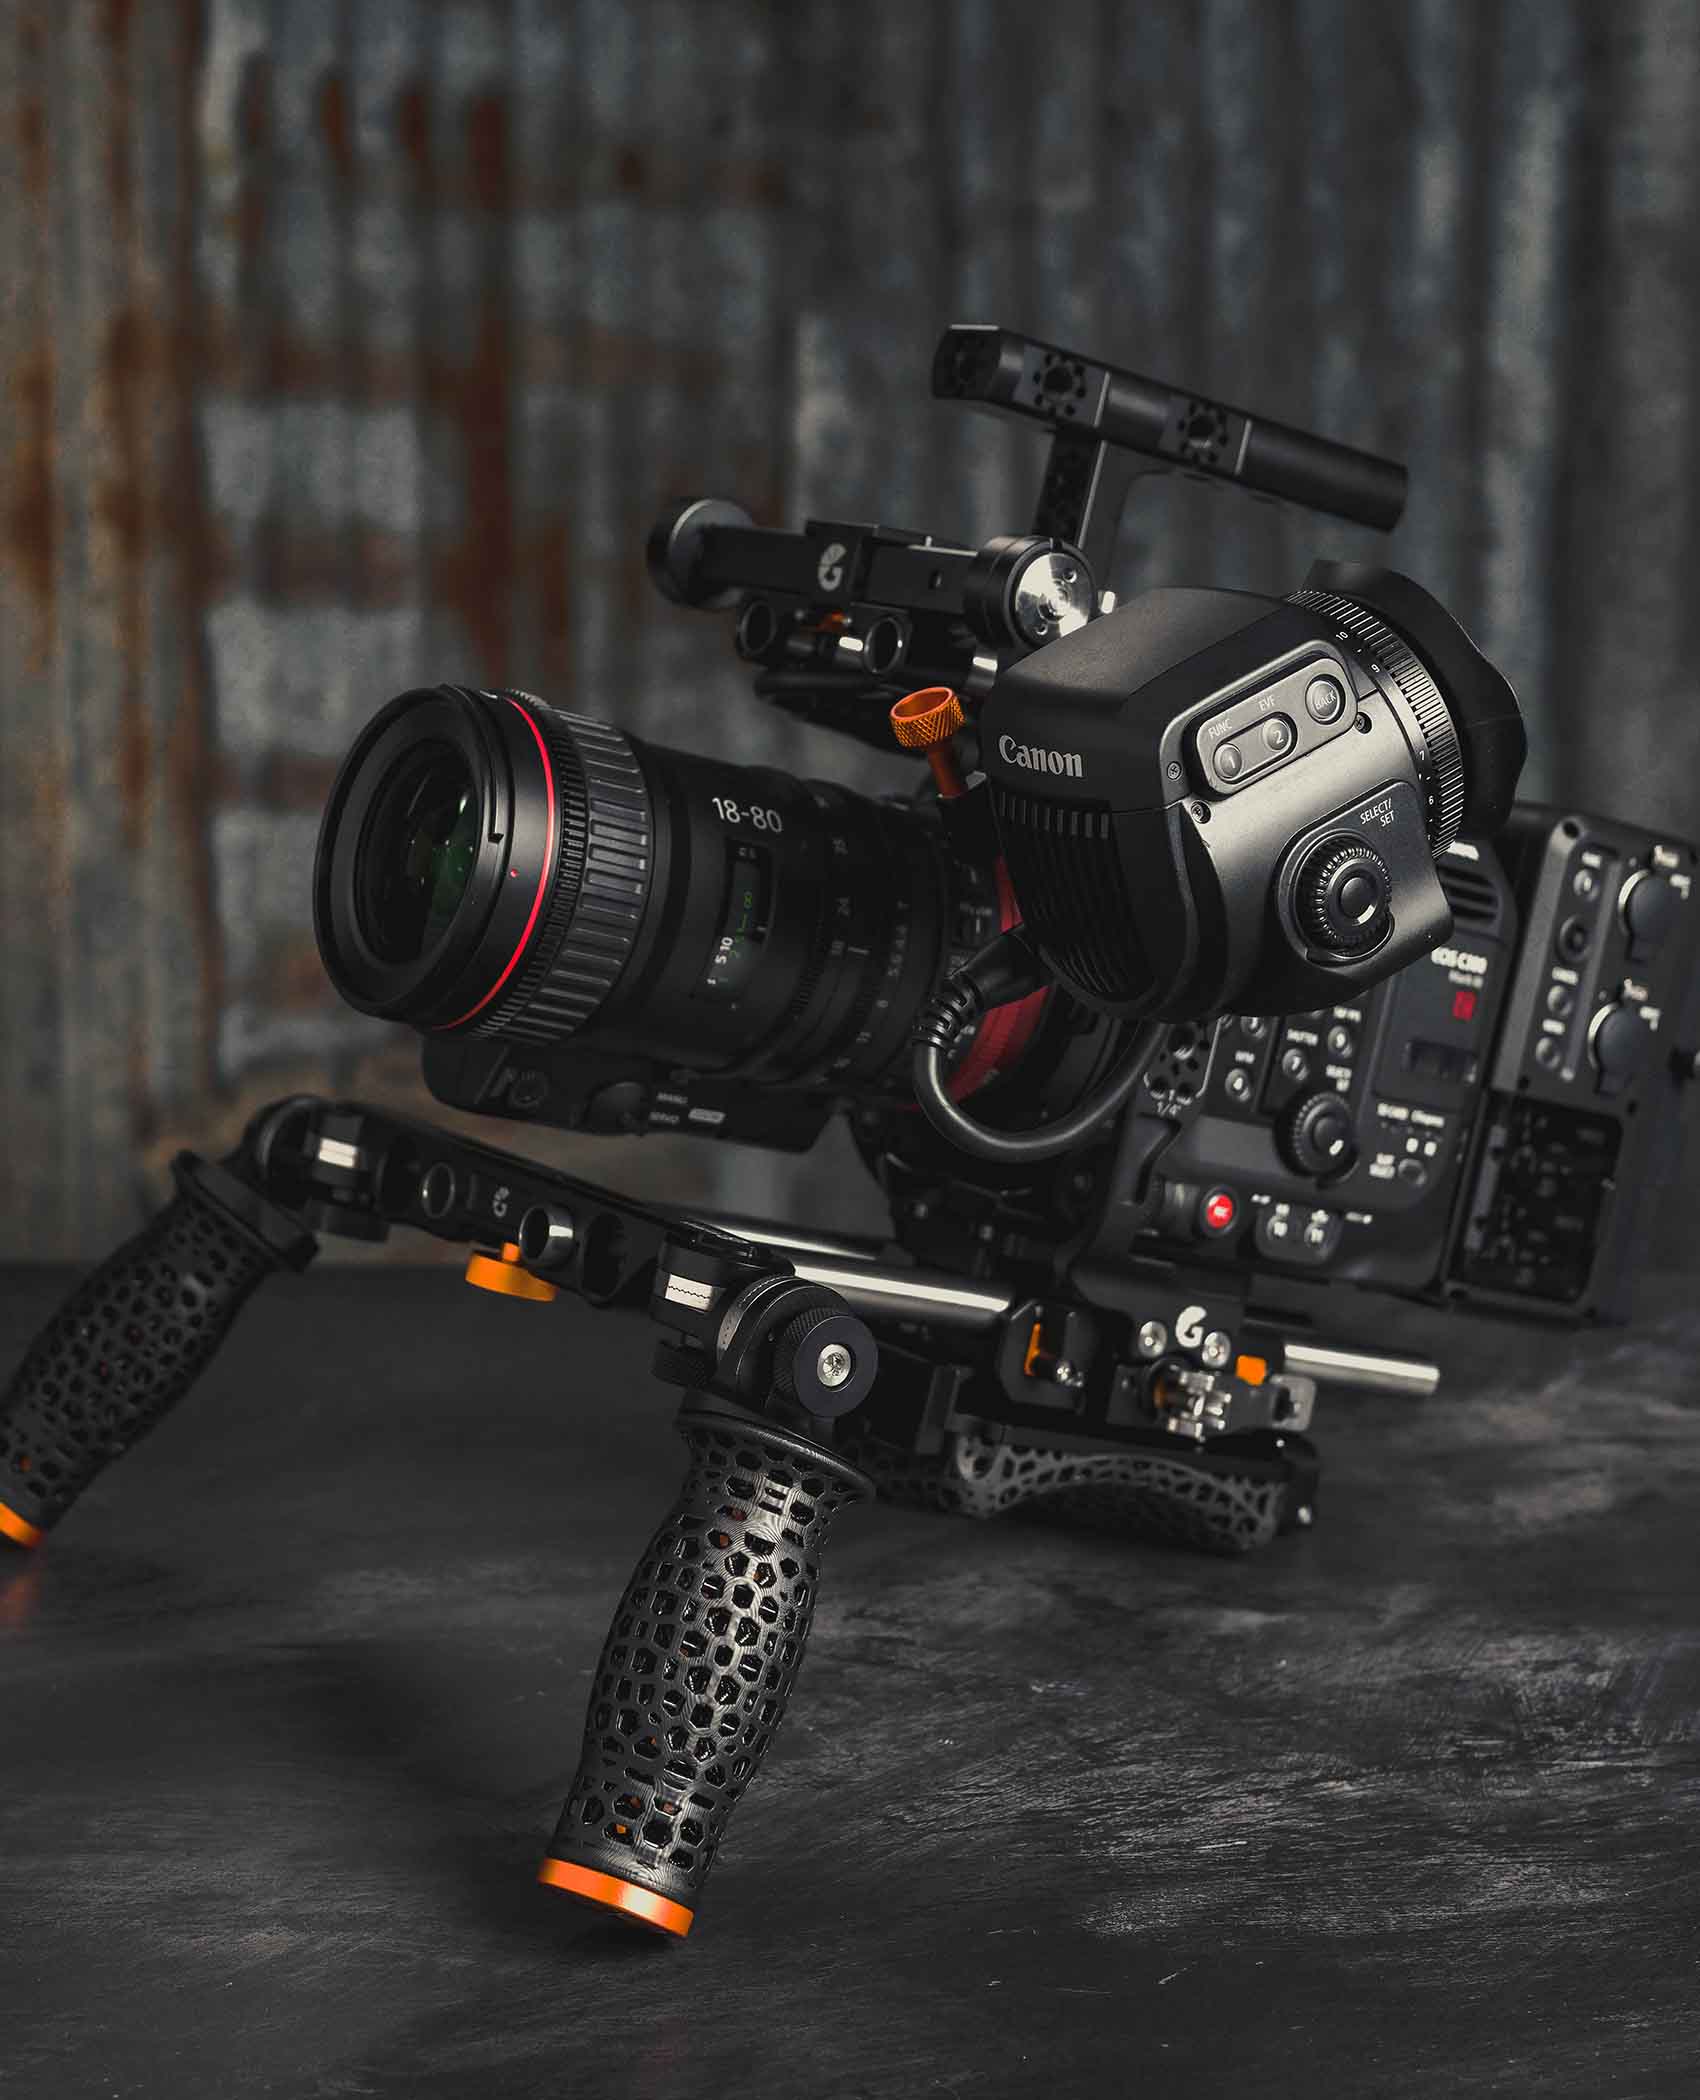
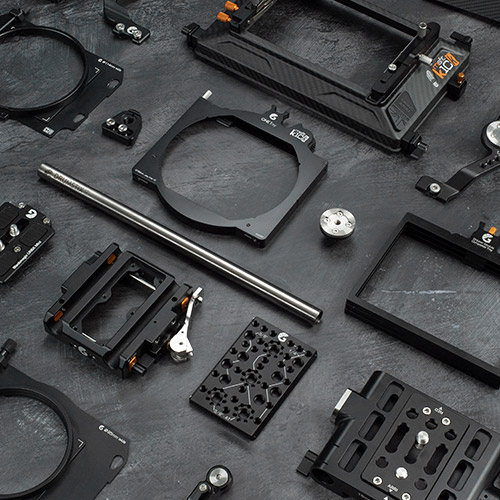
The LeftField 3 Canon C400 Advanced Kit provides a comprehensive suite of accessories with cross platform support for ARRI standard dovetails as well as ARRI BUD for streamlined workflows.
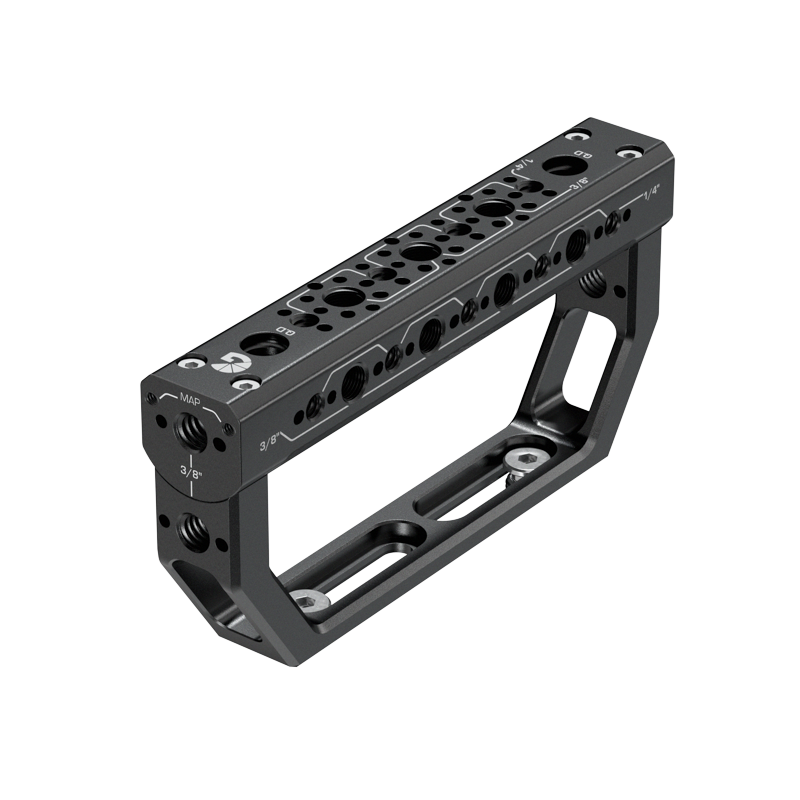
Designed for maximum freedom, it includes everything you need to configure and customise your rig. The kit includes the LeftField 3 BUD 15mm LWS Baseplate, Top Plate, Master Handle, Monitor Mount Hinge & the Wide Cheese Plate.
- LeftField 3 15mm LWS – The kit includes all the essential components for 15mm LWS with 15mm rod support.
- BUD Quick Release – Quick-release ready, the C400 kit is compatible with ARRI BUD accessories such as the KASBAH Ātman Shoulder Rig.
- Accessory Mounting Options – Customise your rig with 15mm rods, QD sockets, 1/4”-20, 3/8”-16 and NATO rail support.
- Canon C400 Ready – Fully compatible with Canon C400 accessories, including the stock microphone shockmount.
- Modular Design – Adapt your setup by rearranging the components to suit your needs.
Description
This LeftField 3 Advanced kit is the definitive solution for Canon C400 shooters, delivering everything you need to build a versatile and reliable 15mm LWS rig.
Packed with essential top plates, cheese plates, and baseplates, this kit allows you to build a professional rig tailored to your workflow.
Always be ready to capture the perfect shot with the hinge monitor mount, allowing you to adjust viewing angles on the fly.
Maximise your C400’s potential with this kit, ideal for shooters of any calibre.
15mm LWS Setup
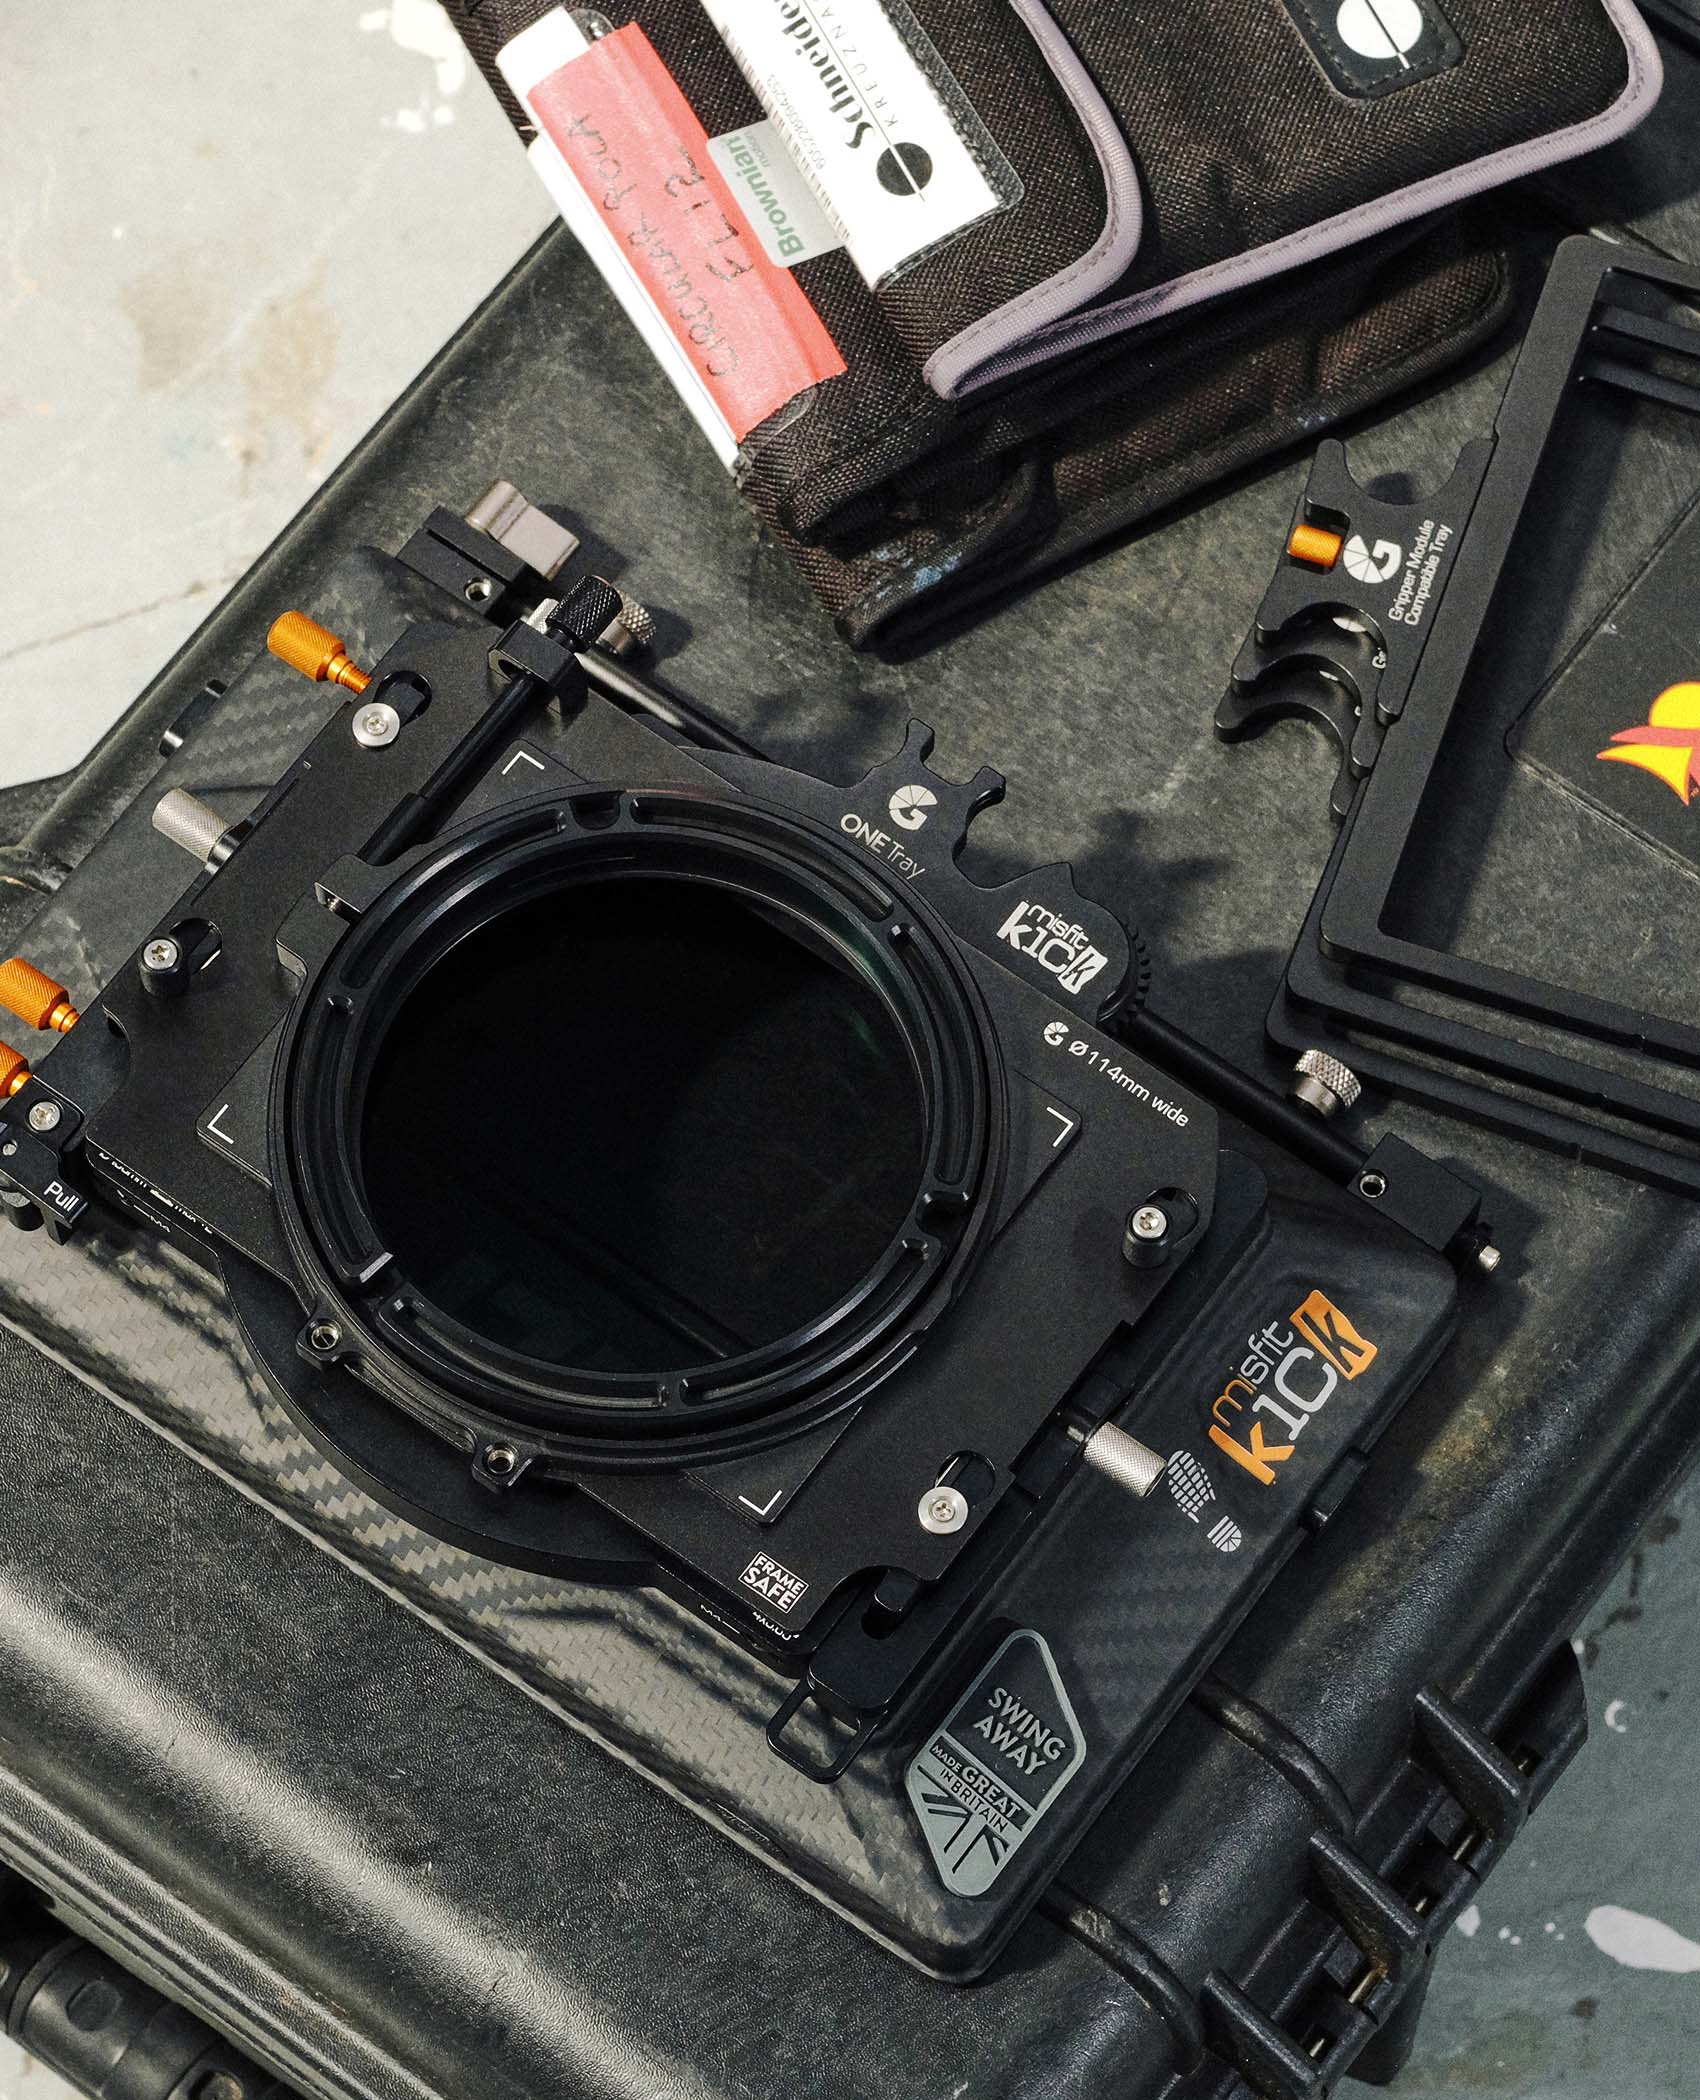
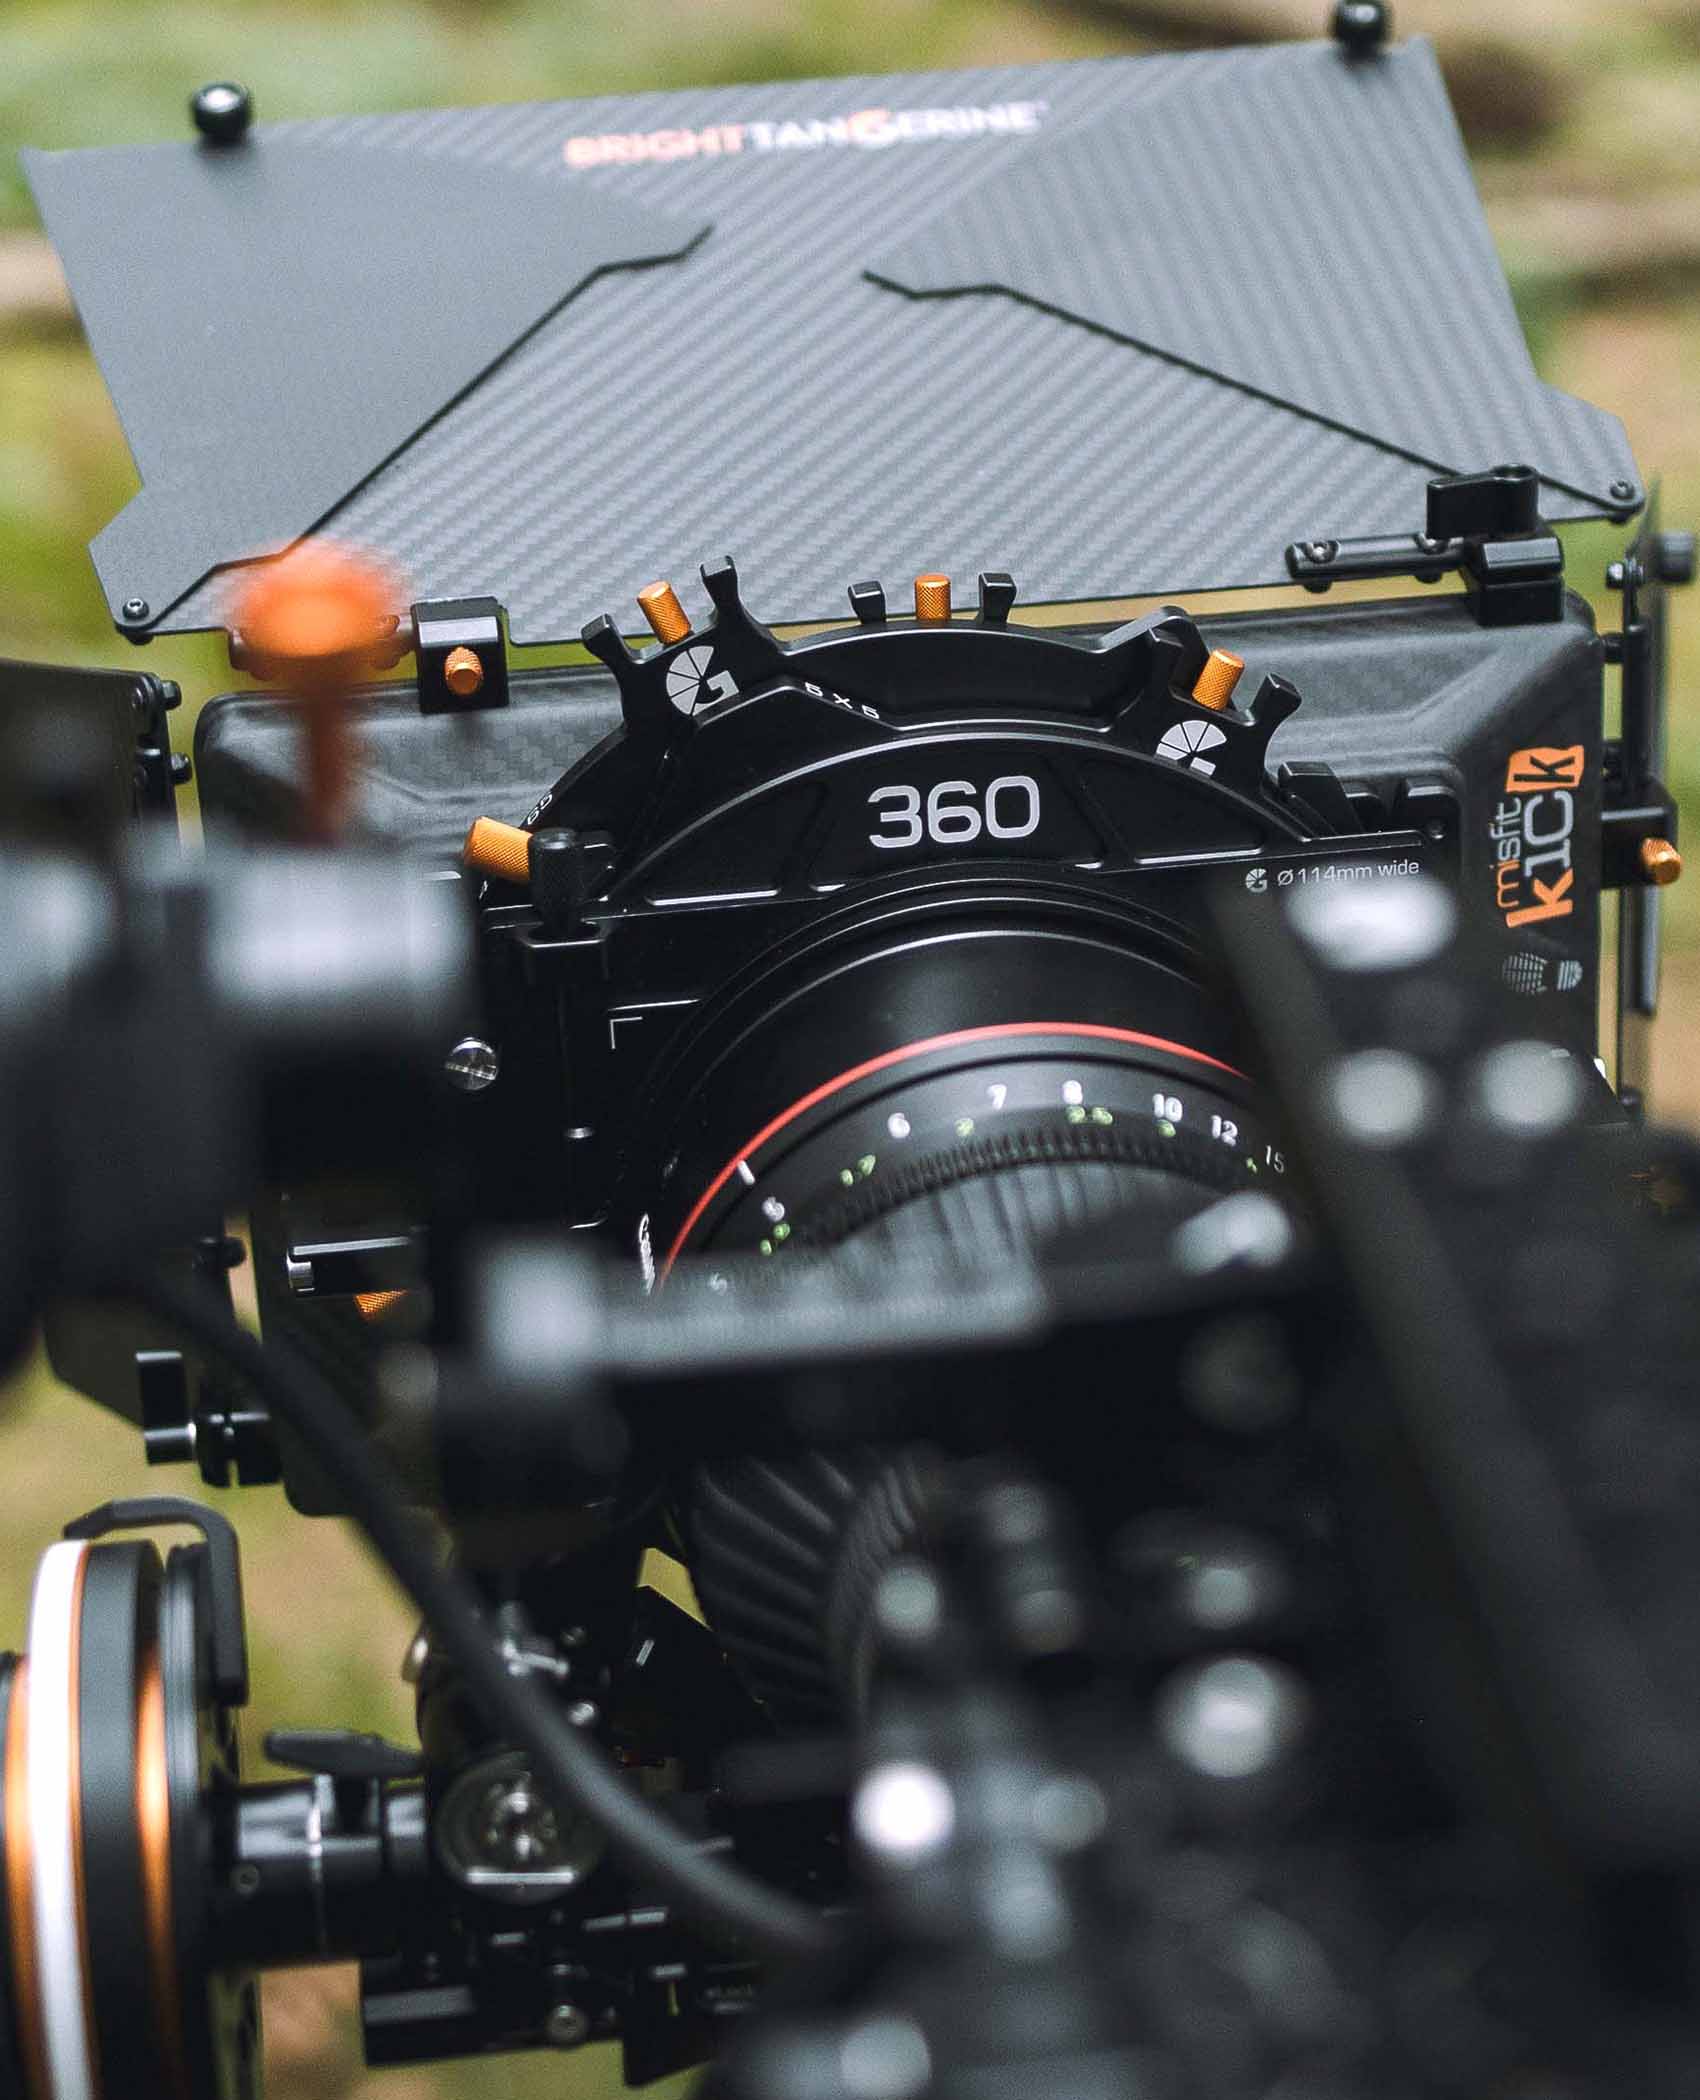
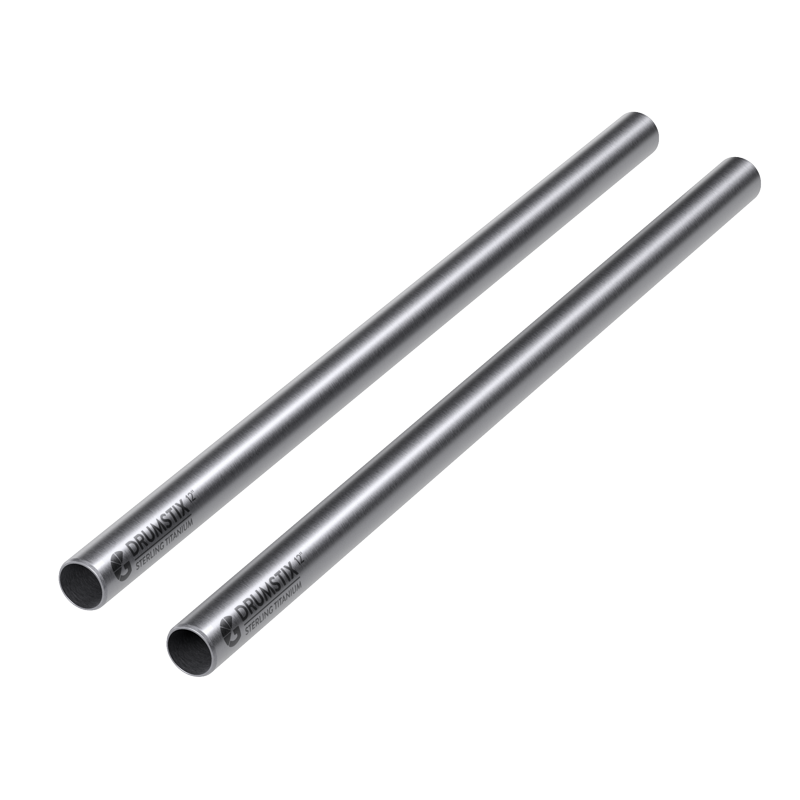
The 15mm Light Weight Support (LWS) rod standard is one of the most common configurations for support rods, offering balance and versatility for matte boxes, follow-focus motors and – above all – your camera. This Advanced C400 Kit caters to that standard: offering a sturdy canvas from which to build out your rig. With two of our flagship Drumstix sterling titanium rods included, the Light Weight Support is truly light-weight.
Seamless ARRI Dovetail Compatibility
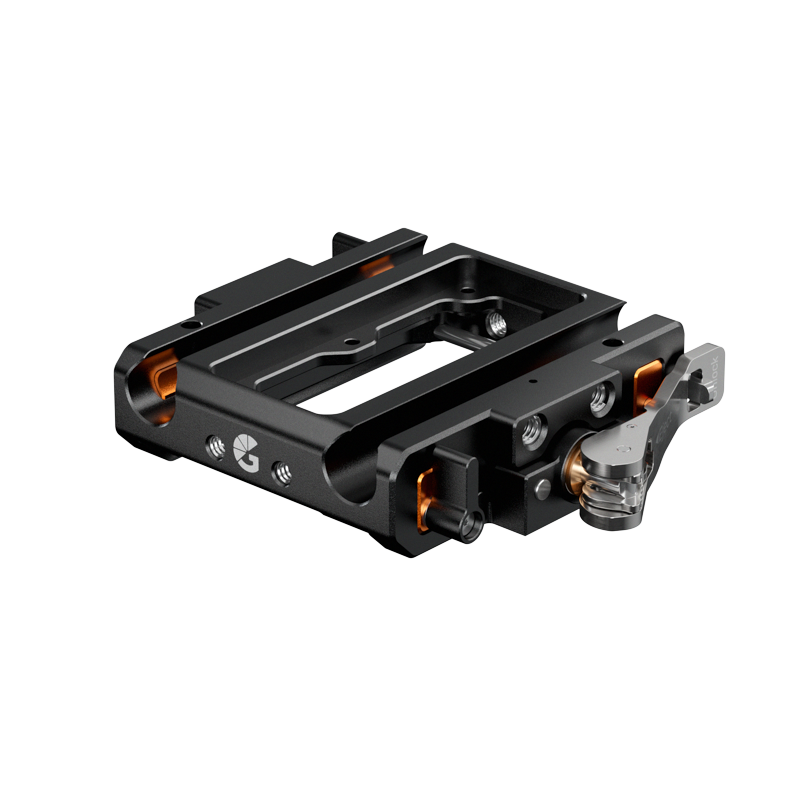
The LeftField 3 baseplate offers full compatibility with ARRI-standard dovetails, enabling smooth transitions between handheld and tripod setups. With a secure and reliable locking mechanism, this kit provides the stability needed for professional-grade filmmaking while maintaining the flexibility to adapt to any shooting environment.
Full BUD Compatibility
In addition, this C400 kit features the Universal BUD Riser and our Universal BUD Plate, offering an additional layer of quick-release functionality for rapid reconfiguration. Designed to set the C400 to the optimum height for ARRI’s Balanced Utility Dovetails, you have a wide range of mounting possibilities.
Canon C400 Accessories
Alongside the industry-standard accessories, the C400 kit also features dedicated components built specifically for the Canon camera. In addition to the Spacer for LeftField 3, the Top Plate and accompanying Filler Piece – as well as a NATO Monitor Hinge – are all designed to maximise compatibility with the C400. This allows you to still access core features such as the Microphone Shockmount and Multifunction Shoe mount. With these accessories, you can customise – not compromise.
Multiple Mounting Options
Fully-assembled, this C400 kit provides a huge suite of mounting options for additional accessories. The Top Plate alone already provides a range of flexibility, with 1/4” and 3/8” anti-twist threads, 15mm rod brackets, and Quick-Detach Sockets for straps and anchors.
The Wide Cheese Plate and accompanying Cheese Plate Adapter also provides similar accessibility at a 90-degree angle, offset from the camera body. Pair the two plates to create an ultra-versatile camera rig, with plenty of space for accessories.
Upgraded LCD Mount
Using our robust NATO monitor hinge, you have greater freedom of movement for your monitor. Maintaining a constant level with the horizon, the monitor mount allows you to fine-tune your setup so that you can always view your shots comfortably and quickly.
Vast Rigging Possibilities
The Canon C400 has been hailed as a “Swiss-Army Knife” of a camera, and this kit allows you to fully realise that potential. Create a more comfortable and versatile Top Handle with our Master Handle Extensions, or mount your C400 to our flagship KASBAH Ātman Shoulder Rig for handheld filmmaking. Remove the limits from your shoot with this advanced C400 kit.
Part of the Canon C400 System
Bright Tangerine’s range of Canon C400 accessories allow users of any skill level to transform their Canon camera into a production powerhouse. With an array of purpose-built accessories and industry-standard compatibility, these accessories are the go-to choice for content professionals across the world.
Zero Compromises
Manufactured in the UK, Bright Tangerine products have grown to a global audience thanks to their reputation for quality and longevity. Designed to be practical, anti-landfill solutions to filmmaking problems, each of our accessories undergoes a rigorous production process, to make your own productions easier. Our customer service team has a similarly unparalleled reputation for helping customers make the most out of every purchase.
Instructions
The Advanced LeftField 3 Canon C400 Kit ships as individual components containing all required screws.
You will need a 2.5mm, 3mm & 4mm Hex Key to install.
LeftField 3 BUD Canon C400 15mm LWS Baseplate
Spacer to Baseplate
1. To install the Spacer, use a 3mm Hex Key to attach the screws in the four corners with the matching points at the centre of your LeftField 3 15mm Baseplate.
2. The Spacer also has threaded holes at the top, which align perfectly for mounting the Universal BUD Riser.
Riser to Spacer
1. To install the Universal BUD Riser on top of the Spacer, use a 3mm Hex Key on the four screws, aligning them with the Spacer’s threads.
BUD Plate to Camera
1. To attach the BUD plate to your C400, match the 3/8” and 1/4” screws of your camera base with those of the BUD Plate.
2. Thread the 3/8″ screws into the channel, while the 1/4″ screws can be inserted along the channel and held in place by the rubber ring.
BUD Plate to Riser
1. To attach the camera and BUD Plate to the LeftField 3 system, slide the BUD Plate carefully onto the Riser, and lock it in place with the orange clamp.
2. Next, attach the plate to your camera by tightening the mounting screws with the flathead screwdriver.
Top Section
Top Plate Filler to Camera
1. To install the top plate filler, align the top plate filler’s three screws with their inputs on the Canon C400.
2. Use a 4mm Hex Key to screw the three 1/4”-20 screws into the top of the Canon C400, ensuring that they are aligned with the corresponding slots on the camera’s top.
3. The top plate filler should sit level on top of the camera.
Top Plate 15mm Rod Console to Camera
1. Align the front 15mm rod console pins with the matching holes on the left & right plates in the orientation you require.
2. Secure the rod console to the plates using the 2.5mm Hex key.
Top Plate to Camera
1. To install the top plate onto the camera, line up the four screws on the left and right brackets with their corresponding mounting points on the C400.
2. Use a 2.5mm Hex Key to tightly attach them to the camera.
D-Style Master Handle to Top Plate
1. To install the D-Style Master Handle to the Top Plate, first remove the stock Canon Microphone Shockmount from the stock Top Handle.
2. Align the two captive 3/8” screws with the corresponding threads of the Top Plate – the screws can slide to adjust – and install them with a 4mm Hex Key.
Canon Shockmount to Top Plate
1. To install the Microphone Shockmount to the Top Plate, align the
Monitor Mount
Stock Monitor Mount Disassembly
1. Use a 4mm Hex key to detach the LCD from the stock monitor mount.
Monitor to Hinge
1. Attach the monitor block to the LCD monitor by using a 4mm Hex Key on the 1/4″-20 screw, aligning the locating pins into the locating holes
2. Rotate the hinge to gain access to the mounting points.
3. Attach the monitor block to the monitor hinge with the two M4 screws, using the 3mm Hex Key.
Hinge to NATO Rail
1. Unlock the NATO lock lever.
2. Slide the NATO clamp onto the corresponding NATO rail, until it is the optimum position for your rig.
3. Lock the lever to secure the hinge in place.
Universal Accessories
Cheese Plate to Adapter
1. Align your choice Wide Cheese Plate with the corresponding M4 points on the Cheese Plate Adapter.
2. Use a 3mm Hex Key to tighten the two M4 screws provided with the Cheese Plate, securing it to the adapter.
Adapter to Top Plate
1. Align the 1/4”-20 screw slot on the Cheese Plate Adapter with a corresponding thread on your Top Plate.
2. Use a 3mm Hex Key to attach it to the camera, ensuring it is tight and level with the attachment point.
15mm Rod Bracket Bracket to Plate
1. To attach the bracket to a compatible plate, align the rod bracket with two compatible M4 points.
2. Tighten the M4 screws with a 3mm Hex Key in an alternating fashion so that the bracket sits flat against the mount.
15mm Rods to Bracket
1. For inserting rods into the 15mm bracket, loosen the winged-lever clamp by twisting it anti-clockwise.
2. Insert the 15mm rod into the open bracket at your desired position, then turn the clamp clockwise to tighten the bracket once more.
Compatibility
The LeftField 3 Canon C400 Kit is designed to work with the Canon C400 camera system, and most components in the kit can only be used with this specific camera.
Warranty
24 months
Additional information
| Weight | 2 kg |
|---|---|
| Dimensions | 35 × 30 × 30 cm |
| Camera Brand | Canon |
| Camera Model |


